Recording with Azul Mission Control
With Azul Mission Control, you can connect to a running JVM in order to create Java Flight Recorder (JFR) recordings intuitively within the application, without using the command line or terminal.
The target JVM must meet the following requirements:
-
The target JVM’s JDK/JRE version must be 7 or later.
-
Azul Mission Control monitors Java applications over JMX. If you connect to a JVM that is running on a remote computer, the JMX port must be open on that computer. For more details about remote connection, see Connecting to a Remote JVM.
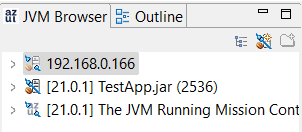
Connecting to a Local JVM
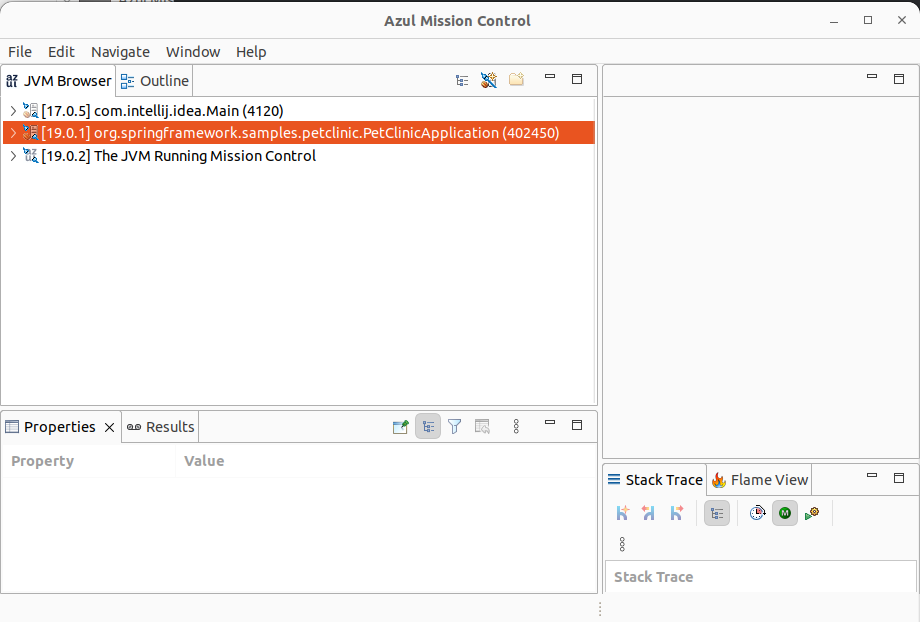
Azul Mission Control automatically detects the JVMs that are running locally and displays them in the tab "JVM Browser":
Connecting to a Remote JVM
Azul Mission Control can connect to a remote system, if you prepare it to accept a JMX connection from the system where you run Azul Mission Control.
Preparing the Remote JVM
In order to connect to a JVM that is running on a remote computer, you must configure the remote Java application with the following VM parameters:
-
-XX:+FlightRecorder: enables the Flight Recording feature. -
-Dcom.sun.management.jmxremote: enables the JMX Remote Management Interface (RMI). -
-Djava.rmi.server.hostname=<IP|hostname>: defines the RMI server host. Use an external IP address or host name of the computer where the Java program is running. -
-Dcom.sun.management.jmxremote.port=<port>: sets a TCP port (default is 7091) to be used for the JMX connection. -
-Dcom.sun.management.jmxremote.rmi.port=<port>: forces JMX to use the specified port (default is 7091) for RMI communication instead of a random port. Using the same port as the JMX port simplifies firewall configuration. -
Additionally, you may need to specify these extra settings:
-
-Dcom.sun.management.jmxremote.authenticate=false: disables authentication -
-Dcom.sun.management.jmxremote.ssl=false: disables SSL -
-Dcom.sun.management.jmxremote.local.only=false: allows remote connections.
-
This sample JVM startup command runs a Java program with JMX authentication and SSL disabled, for testing locally when both the application and Azul Mission Control are running on the same machine (e.g. for testing an application in a Docker container):
 java -XX:+FlightRecorder \
  -Djava.rmi.server.hostname=localhost \
  -Dcom.sun.management.jmxremote.port=7091 \
  -Dcom.sun.management.jmxremote.rmi.port=7091 \
  -Dcom.sun.management.jmxremote \
  -Dcom.sun.management.jmxremote.authenticate=false \
  -Dcom.sun.management.jmxremote.ssl=false \
  -Dcom.sun.management.jmxremote.local.only=false \
  -jar app.jar
Configuring a Remote JVM Connection
To connect Azul Mission Control to a remote JVM:
-
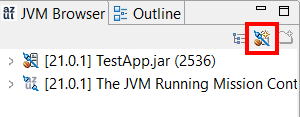
On the "JVM Browser" tab, click "New Connection" as shown below.
-
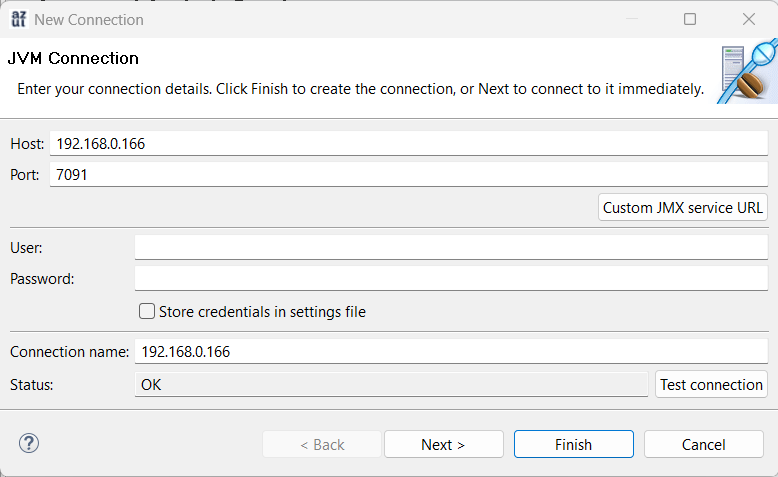
Specify the host name/IP address of the remote box and the JMX port number.
-
If JMX authentication is enabled, provide "User" and "Password" values.
-
Click "Test connection" to verify the connectivity, and then save the new connection.
-
Your remote JVM now appears in the JVM Browser!
Starting a JFR Recording in Azul Mission Control
To create a recording:
-
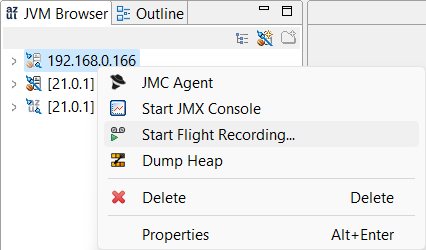
In the "JVM Browser", right-click the JVM node you want analyzed, and then click "Start Flight Recording".
-
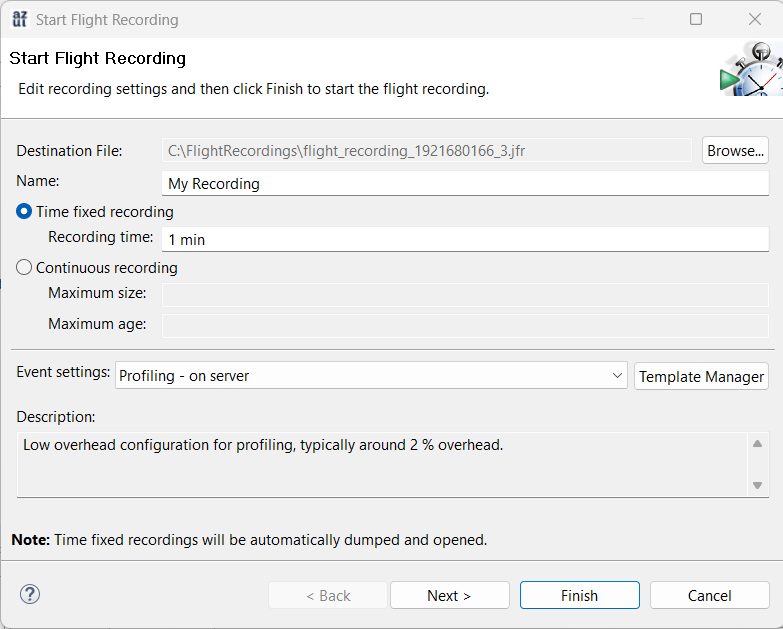
The "Start Flight Recording" window appears.
-
Select either "Time fixed recording" or "Continuous recording" mode, making sure to specify a recording time or maximum size/age.
-
Time fixed recording: Makes a recording for a specified amount of time (or until the application closes).
-
Continuous recording: For advanced users. This mode continuously writes JVM events to a buffer of the size or age specified. Once the buffer is full, the oldest recorded events are removed while the buffer continues to be populated with the latest JVM events. The buffer is saved to the disk based on specific triggers or time intervals.
-
-
Click "Finish" to start the recording.
In this scenario, default Flight Recorder settings for demonstration are used. However, to tune the recording session, you can click "Next" and proceed with a wizard.
NoteYou can set the path where the .jfrfiles must be stored on the machine running Azul Mission Control, in the "Start Flight Recording Wizard". -
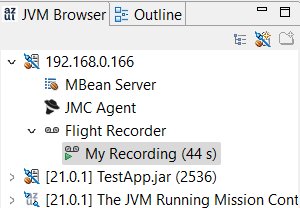
After you start the recording, a countdown timer appears, indicating the recording progress: