Installing Intelligence Cloud CLI
Follow these steps to download, run and configure the Intelligence Cloud CLI tool.
Downloading the CLI
You can download the latest version:
-
From the Azul repository:
curl -O https://cdn.azul.com/ic-cli/ic-cli-1.0.17.zip -
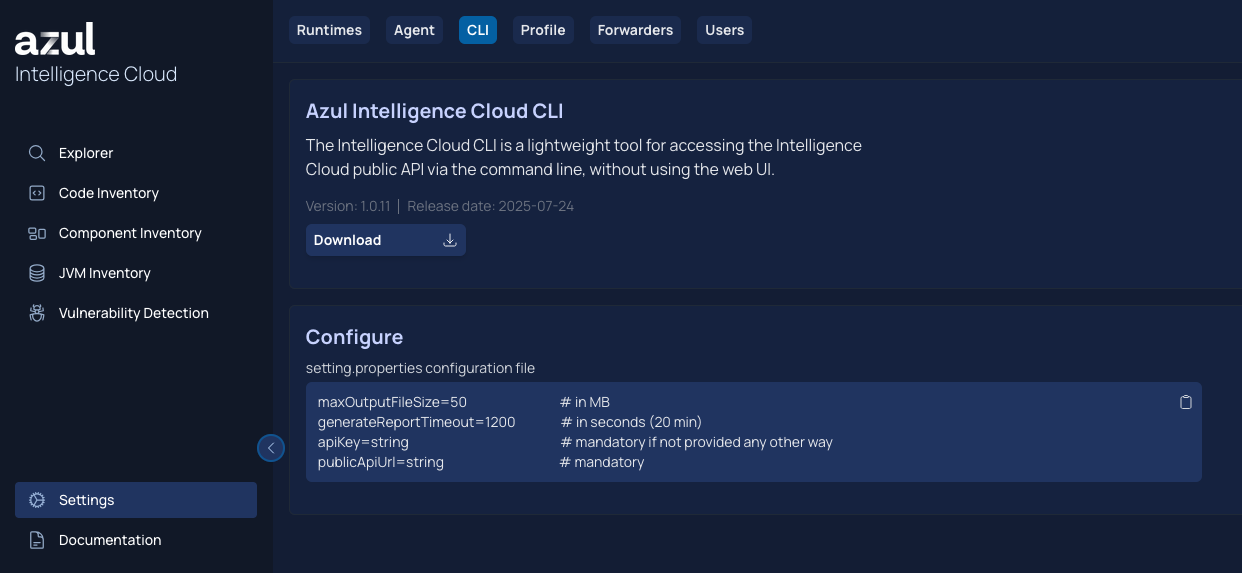
Or the Web UI:
Running the CLI
The downloaded zip contains the ic-cli.jar file and the ic launch script. You can run the tool:
-
As a bash script that launches the jar file:
./ic [options]. -
As a bash command that launches the jar file if it is added to the path:
ic [options]. -
As a Java program:
java -jar ic-cli.jar [options].
Configuring the CLI
The API URL and key are needed by the CLI to connect to your Intelligence Cloud instance. You can define these in three ways:
-
With CLI parameters, see Using Intelligence Cloud CLI. This has the highest priority.
ic report codeInventory list \ --apiUrl=<your-endpoint>.azul.com/public \ --apiKey=<your-key> \ ... other parameters -
Using environment variables.
export IC_API_URL=<your-endpoint>.azul.com/public export IC_API_KEY=<your-key> -
Using a settings file. This has the lowest priority. If the file does not exist, it is automatically created with default values for non-mandatory parameters.
The default location for this file is located in your home directory:
~/.ic/cli.properties. You can change the location with an environment variable.export IC_PROPERTIES=<directory-for-the-properties-file> # For example export IC_PROPERTIES=~/azul/Example:
 # Mandatory if not provided any other way
apiUrl=<your-endpoint>.azul.com/public
apiKey=<your-key>

# Optional
maxOutputFileSize=500       # In MB
generateReportTimeout=1200  # In seconds (20 min)